Percy Visual Testing
Intruduction
This document describes how you can setup a Percy project, connect it with a GitHub repository and how to use it from the command line or as part of the review builds.
Prerequisites
- Access to gov-cy organization settings on Github
- Percy Github App installed for the
gov-cyorganization - Access to Percy
- nmp package @percy/script is installed
Steps to set it up
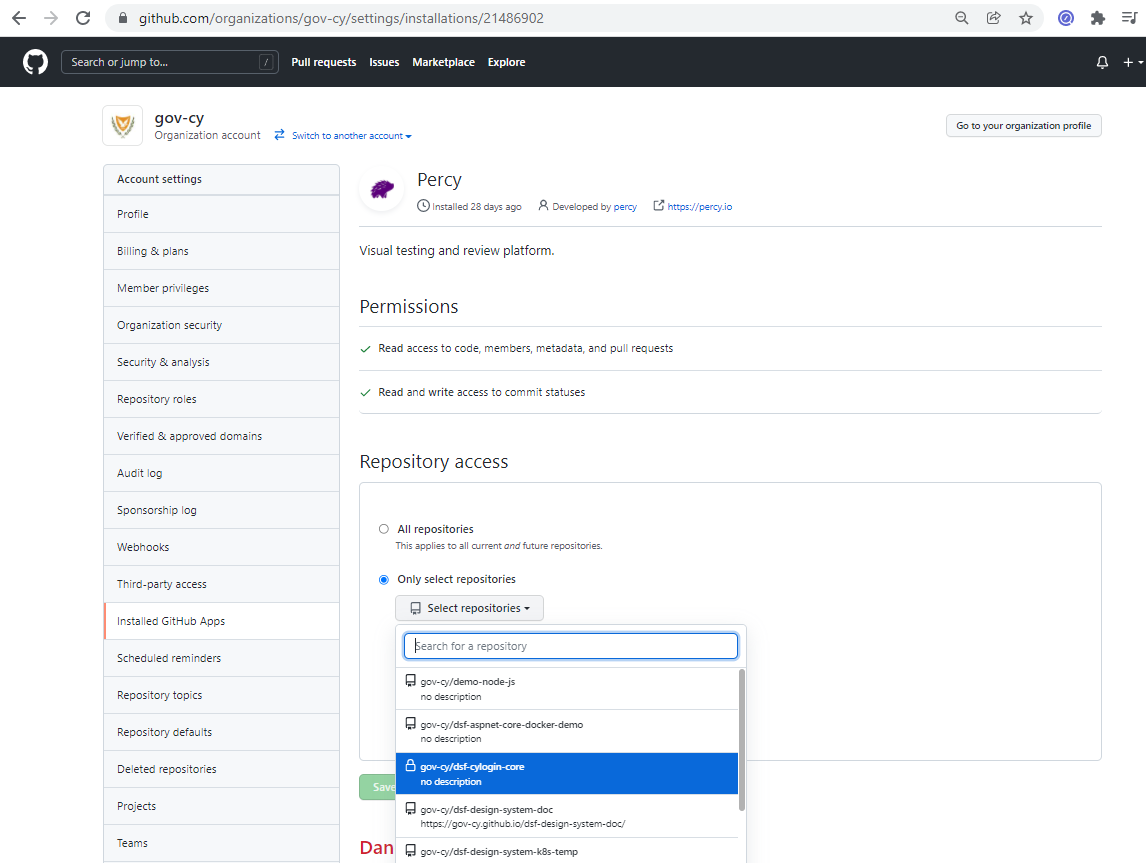
Give permissions on Percy Github App to access the desired repository
- Go to https://github.com/organizations/gov-cy/settings/installations and click
Configurefor the Percy App - Under the
Repository AccessClick onSelect repositoriesand select the desired repository. - Click
Save
- Go to https://github.com/organizations/gov-cy/settings/installations and click
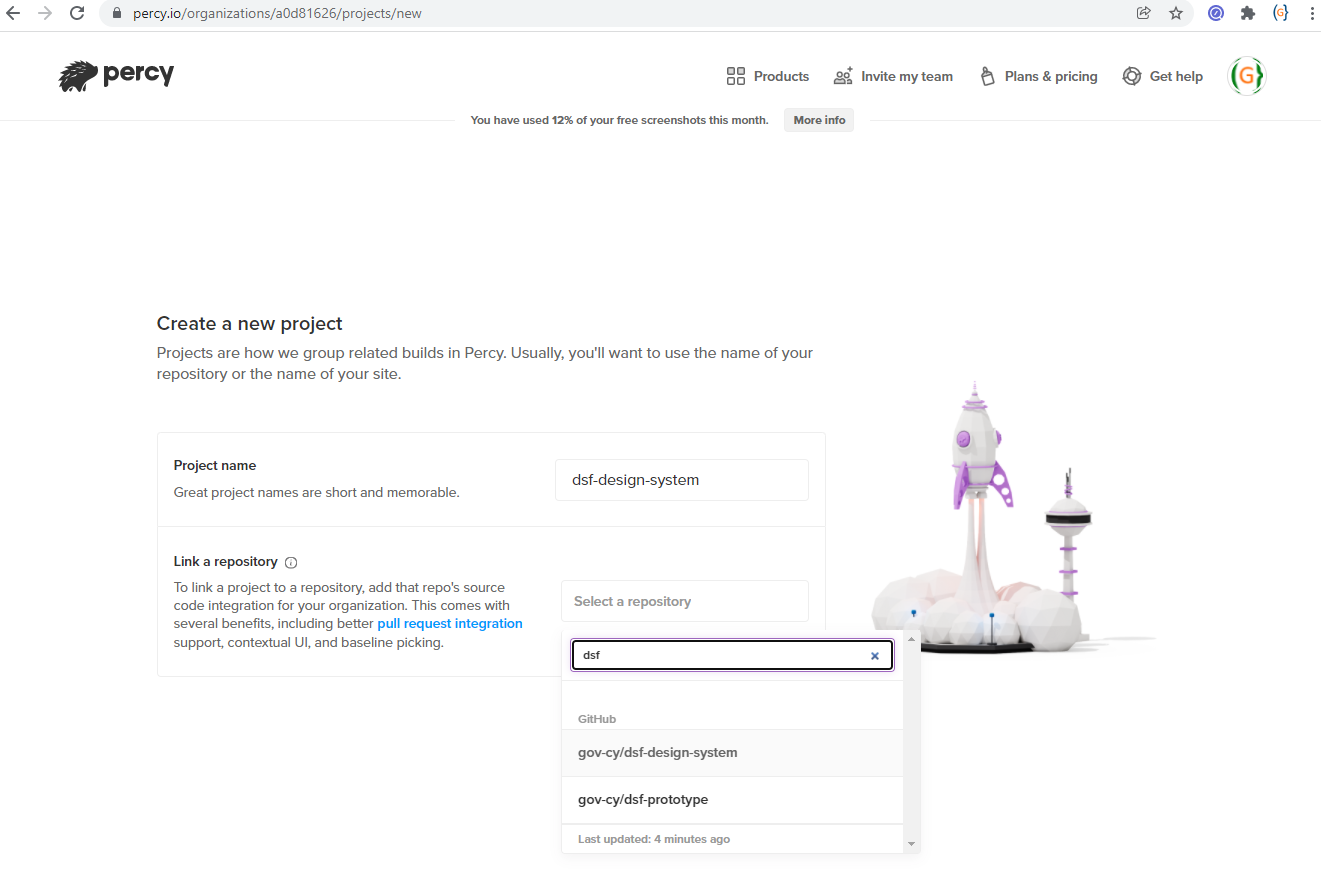
Create new project in Percy
- Go to Percy's organization page (https://percy.io/a0d81626)
- Click
Create new project - Complete the
Project nameandLink a repository(see image below) - Click
Create Project
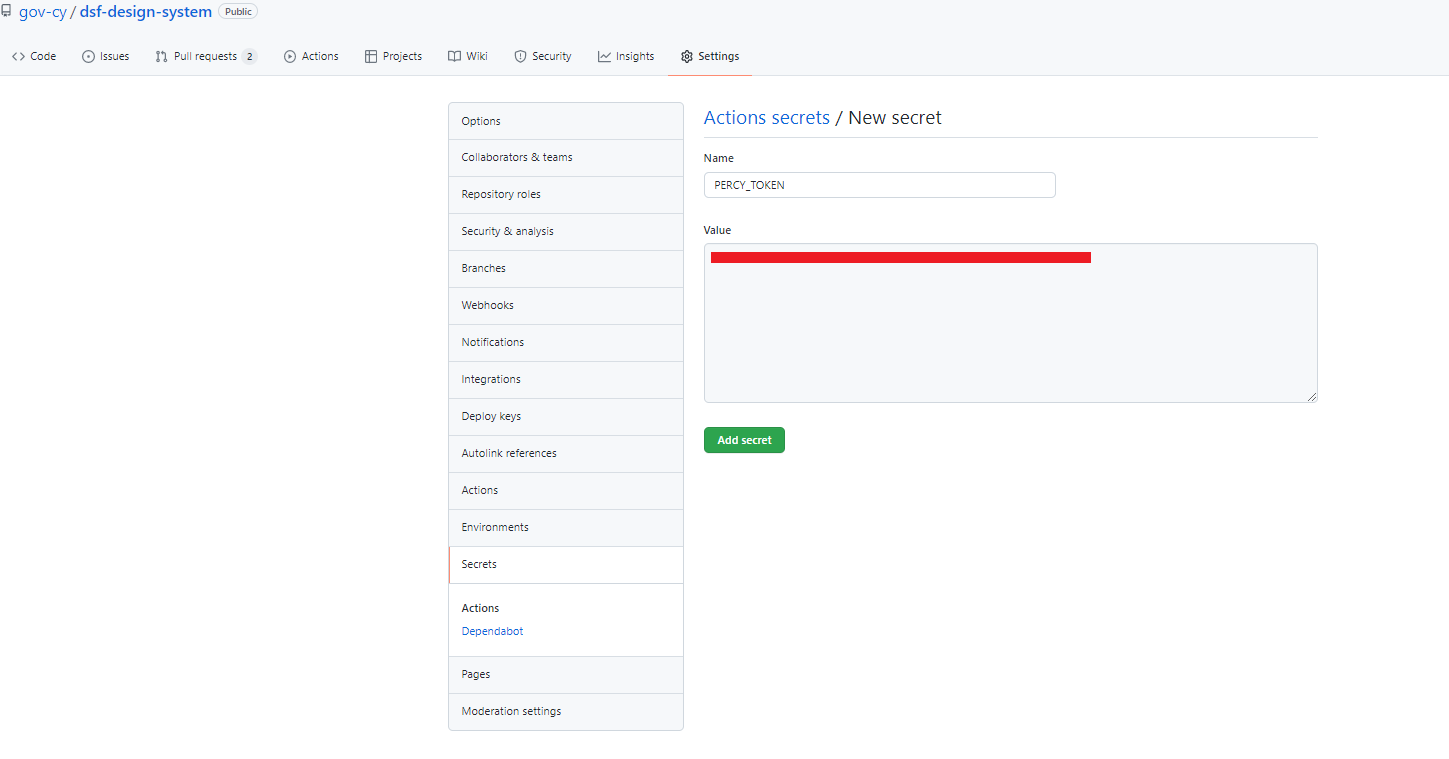
Set PERCY_TOKEN in repository secret
- From the Percy project page copy the
PERCY_TOKENvalue.
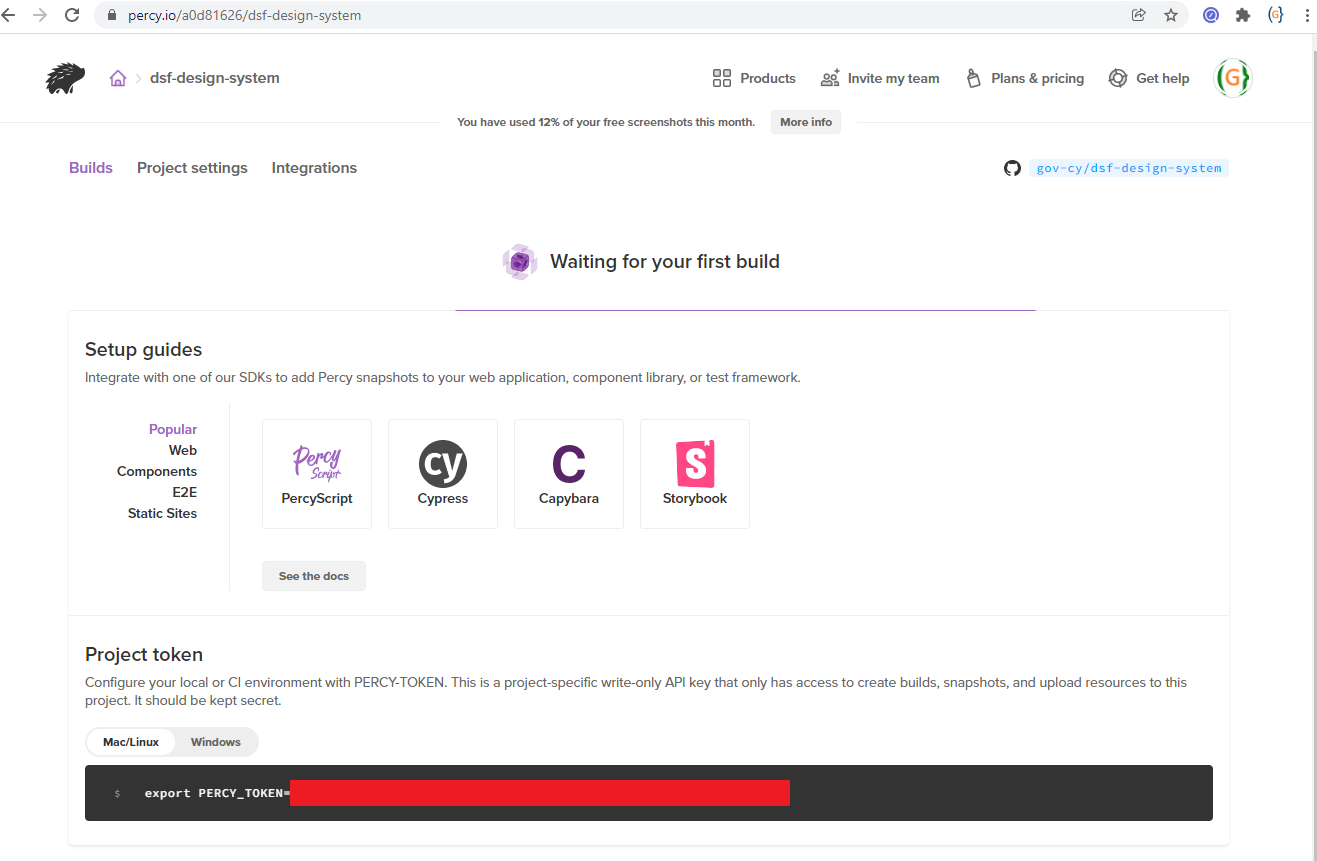
- Go to repository's settings page in Github, click on
Secrets(i.e. https://github.com/gov-cy/dsf-design-system/settings/secrets/actions URL is different depending on repository) - Click
New repository secretand enter under NamePERCY_TOKENand under Value paste the token value.
- From the Percy project page copy the
Create npm test script
In this step you will need to create a test script that will be used to generate the screenshots and add them to Percy. Depending on the technology used (such as Ember, Cypress, Capybara, Storybook e.t.c) Percy has how to tutorials at https://docs.percy.io/docs/example-apps. In this tutorial we are using PercyScript which uses the
@percy/scriptnpm package.Create a test script under
test\scripts\percy.js.Use the
page.goto(URL)andpercySnapshot(snapshotName, [options])methods to navidate to a page and take snapshots.See below a sample test script.
const PercyScript = require('@percy/script');
const httpServer = require('http-server');

const PORT = process.env.PORT_NUMBER || 3000;
const TEST_URL = `http://localhost:${PORT}/build`;

// A script to navigate our app and take snapshots with Percy.
PercyScript.run(async (page, percySnapshot) => {
  let server = httpServer.createServer();
  server.listen(PORT);

  console.log(`Server started at ${TEST_URL}`);

  // Take snapshoots on TEST_URL page
  await page.goto(TEST_URL);
  await percySnapshot('index',{ widths: [375, 767, 1280] });

  // Take snapshoots of another page
  await page.goto(TEST_URL + '/my-cool-new-page');
  await percySnapshot('Cool New Page',{ widths: [375, 767, 1280] });

  server.close();
});
- Create npm script to run test
- Add the following in your
package.jsonfile underscripts
- Add the following in your
"test-percy": "percy exec -- node tests/scripts/percy.js"
Test your script from the
command line- You first need to set the enviromental variable
PERCY_TOKEN. For example on Windowsset PERCY_TOKEN=XXXXXXXXXXXXXXXXXXXXXXXXXXXXXXXXXXXXXX - Then simply run
npm run test-percy - If all goes well a link will appear in the command line where you can view the screenshoots.
- You first need to set the enviromental variable
Create a github workflow
- Create a workflow file under
.github/workflows/percy.yml. See below a sample workflow which fires on pull requests and push on main branch.
- Create a workflow file under
name: Percy CI
on:
  # Trigger the workflow on push or pull request,
  # but only for the main branch
  push:
   branches:
     - main
  pull_request:
    branches:
     - main
jobs:
  build:
    runs-on: ubuntu-latest
    steps:
      - name: Checkout
        uses: actions/checkout@master
      - name: Install
        run: npm install
      - name: Percy Test
        uses: percy/exec-action@master
        with:
          command: "node tests/scripts/percy.js"
        env:
          PERCY_TOKEN: ${{ secrets.PERCY_TOKEN }}
Run percy from command line
From the command line
- You first need to set the enviromental variable
PERCY_TOKEN. For example on Windowsset PERCY_TOKEN=XXXXXXXXXXXXXXXXXXXXXXXXXXXXXXXXXXXXXX - Then simply run
npm run test-percy - If all goes well a link will appear in the command line where you can view the screenshoots.
Github review builds
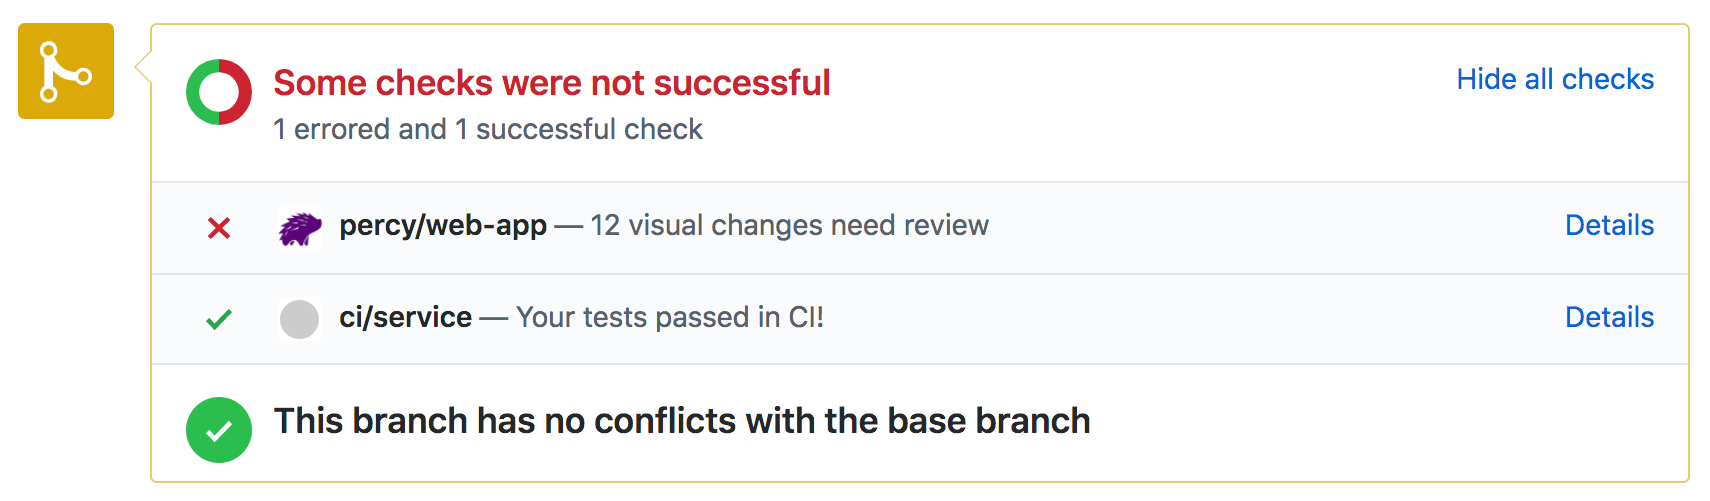
Once you've added the app and linked projects with repositories, subsequent Percy builds will show metadata from GitHub and Percy will automatically update the pull request summary if there are visual differences waiting for review.
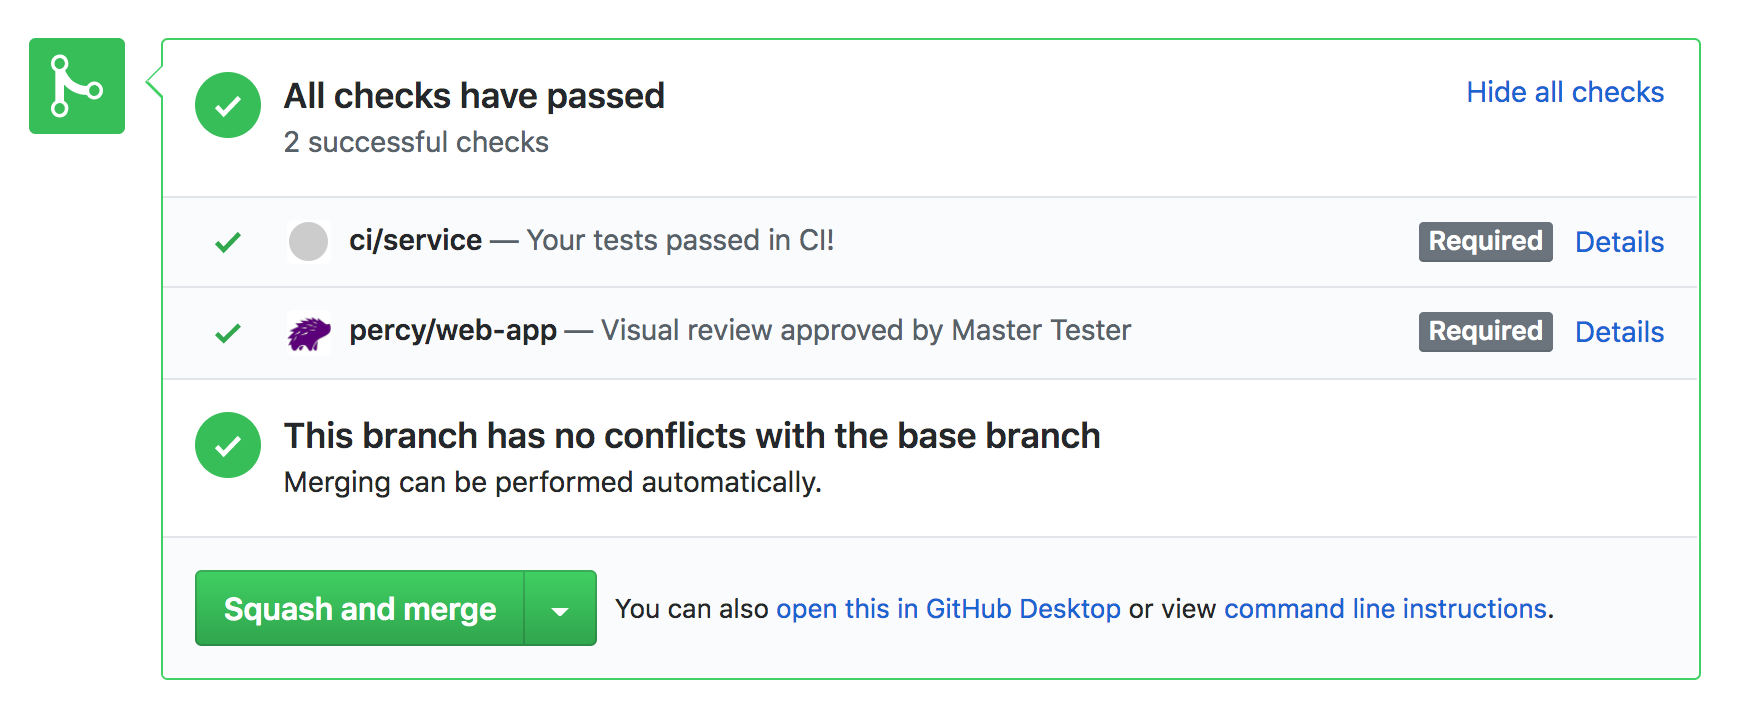
Note: By default, Percy approvals aren’t required before merging, but you can enable this feature once you’re ready for it.
Clicking "Details" will take you directly to the Percy build UI showing all visual diffs to be reviewed.
Approving a build in Percy sets the Percy status in GitHub to green/successful, so that your team can see that any visual changes were reviewed and approved.
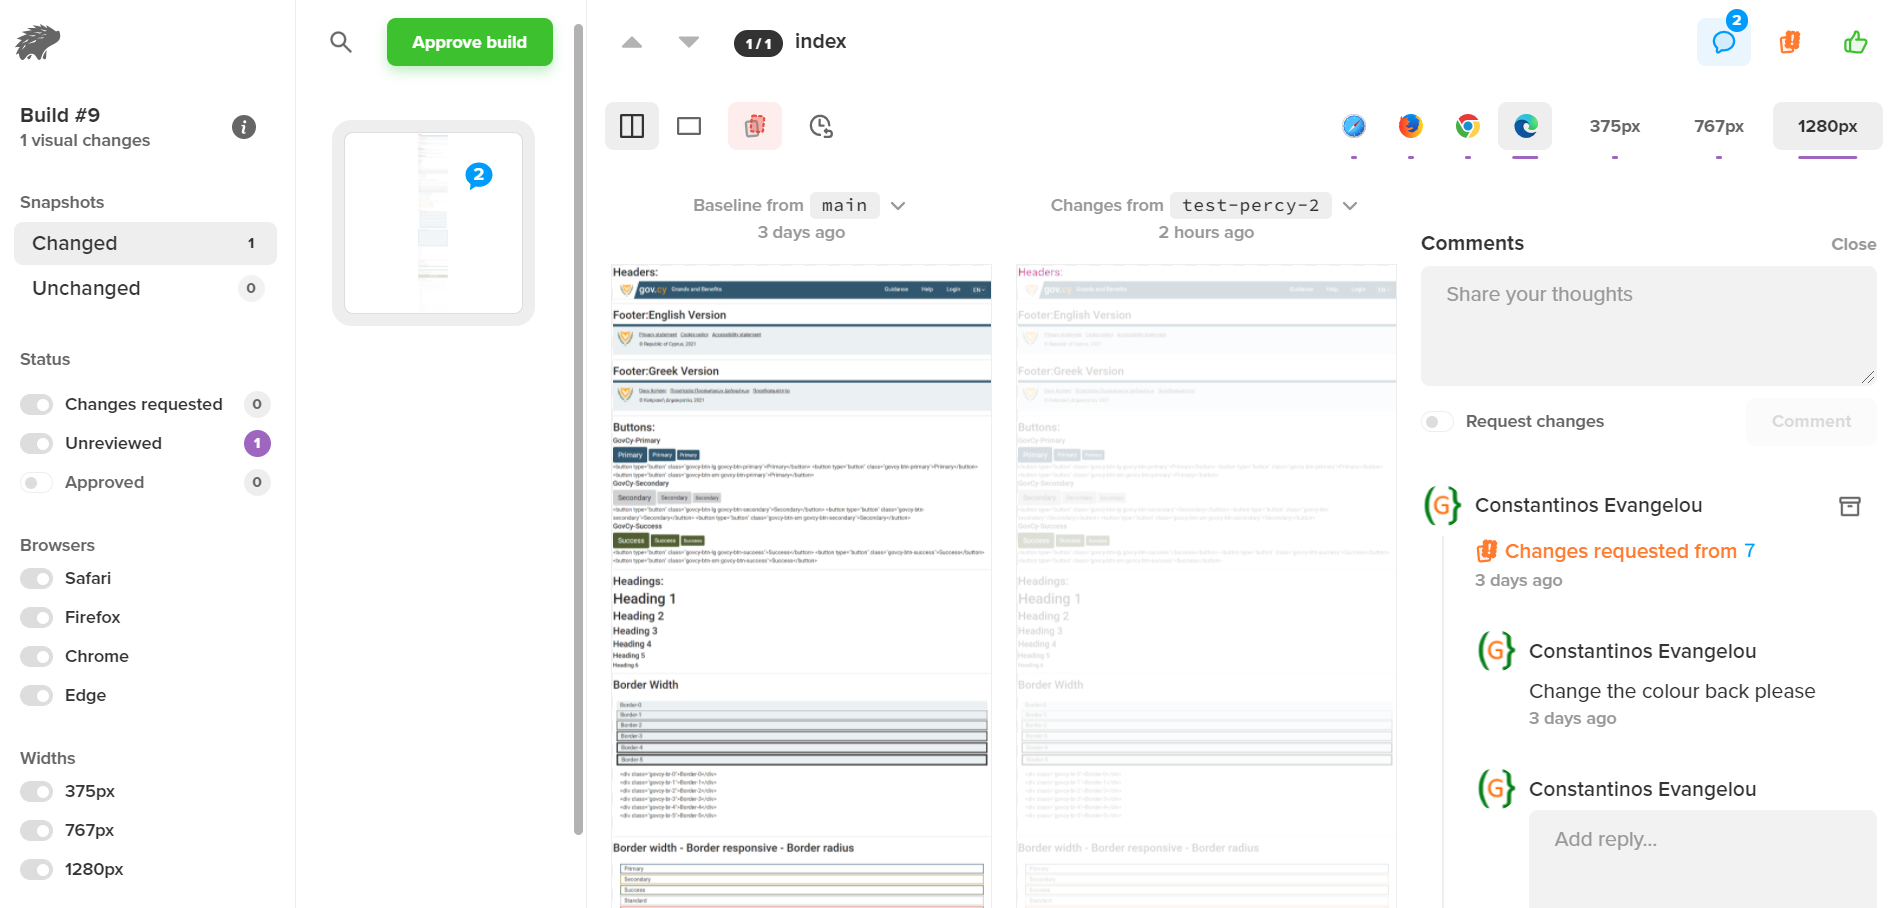
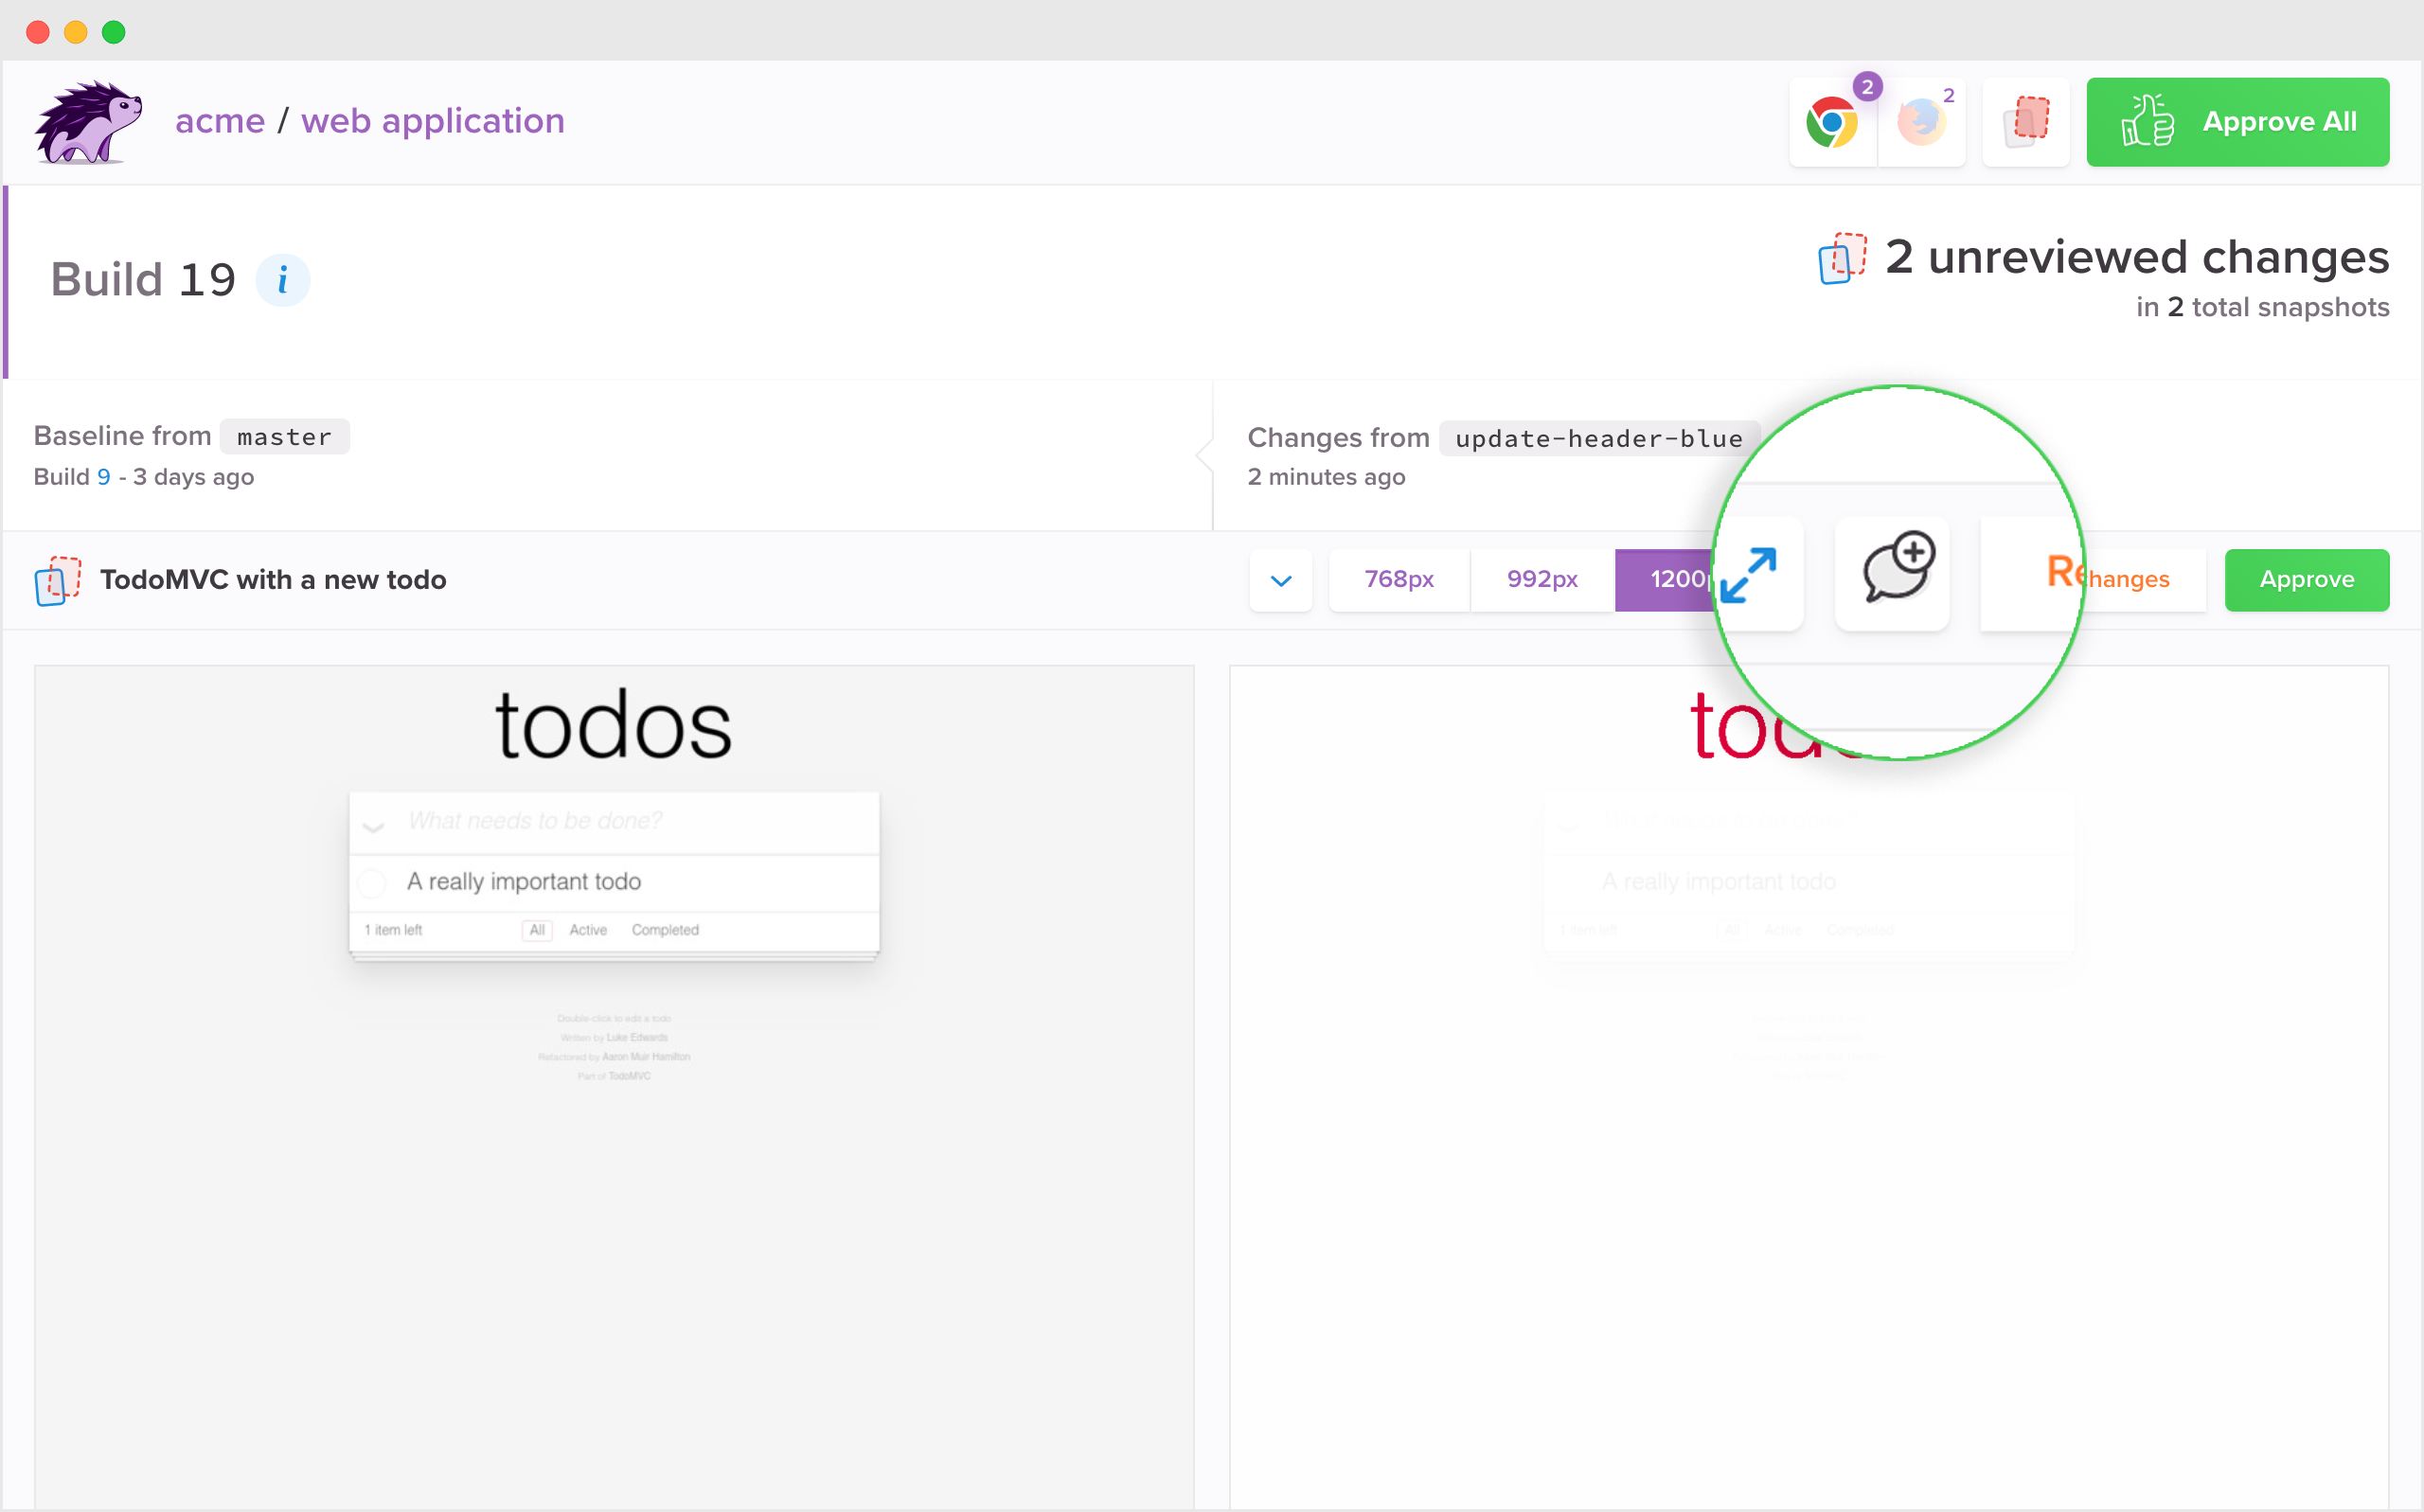
Adding comments
To add a comment and start a comment thread, select the icon in the snapshot header.
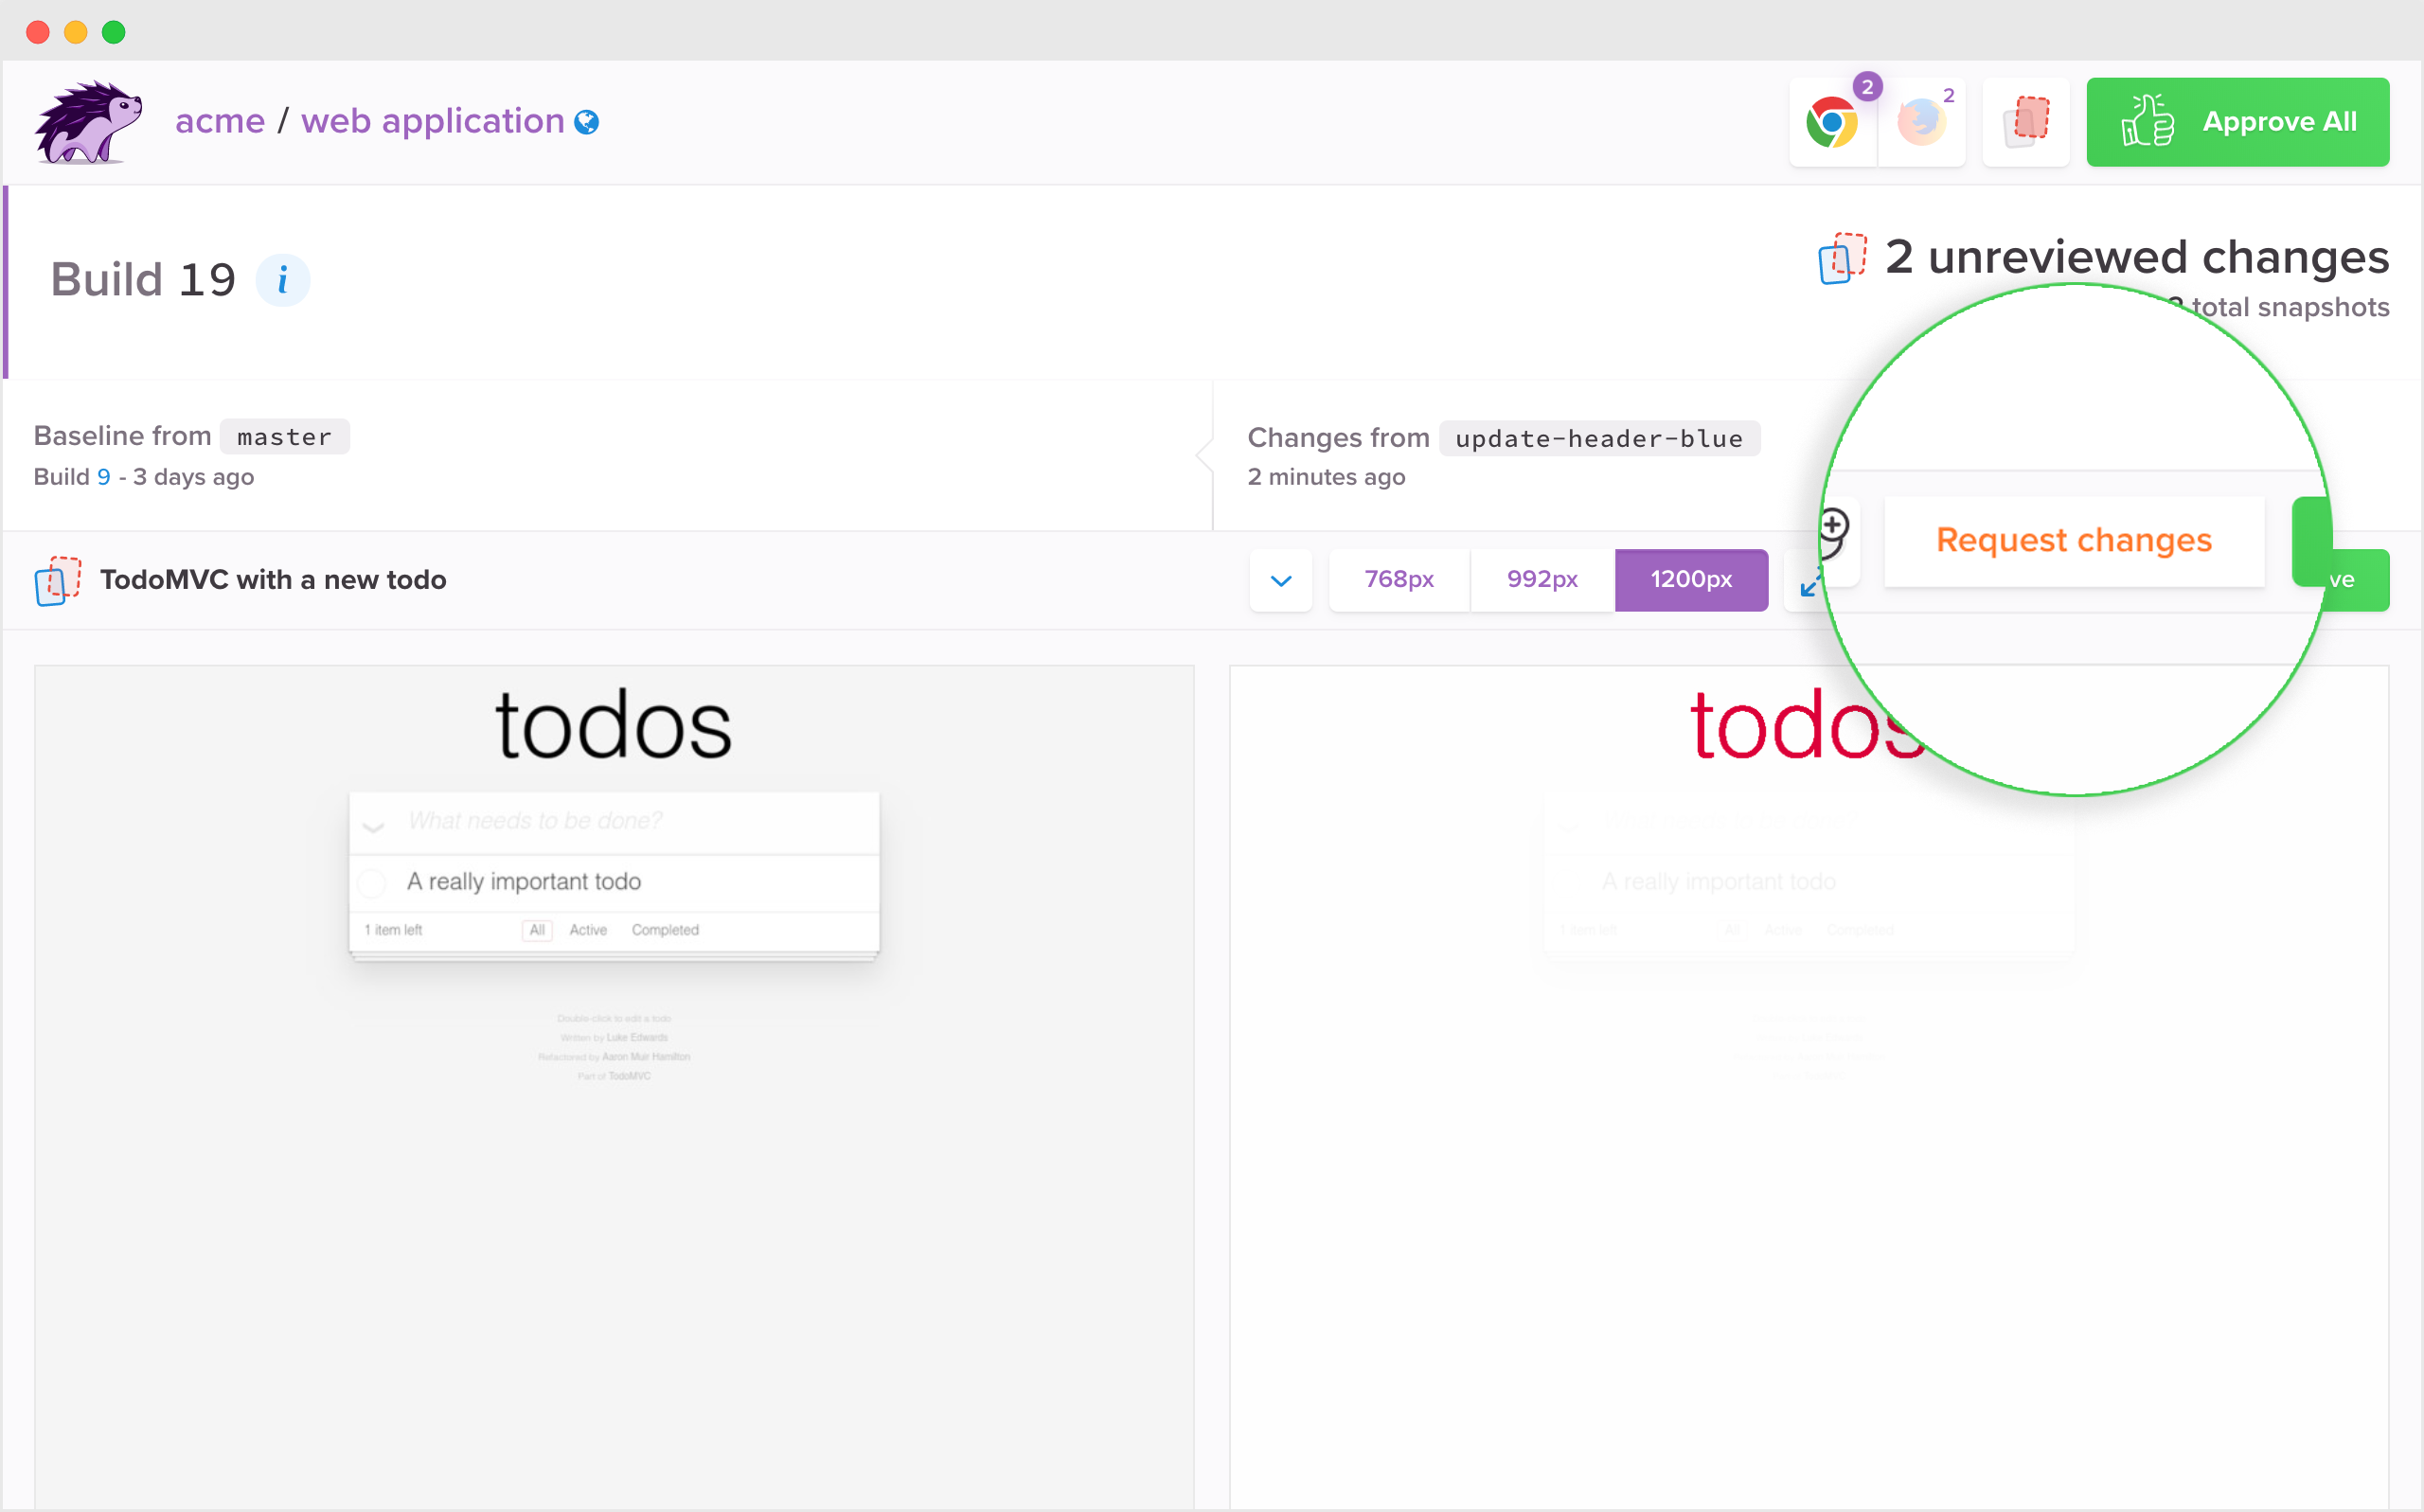
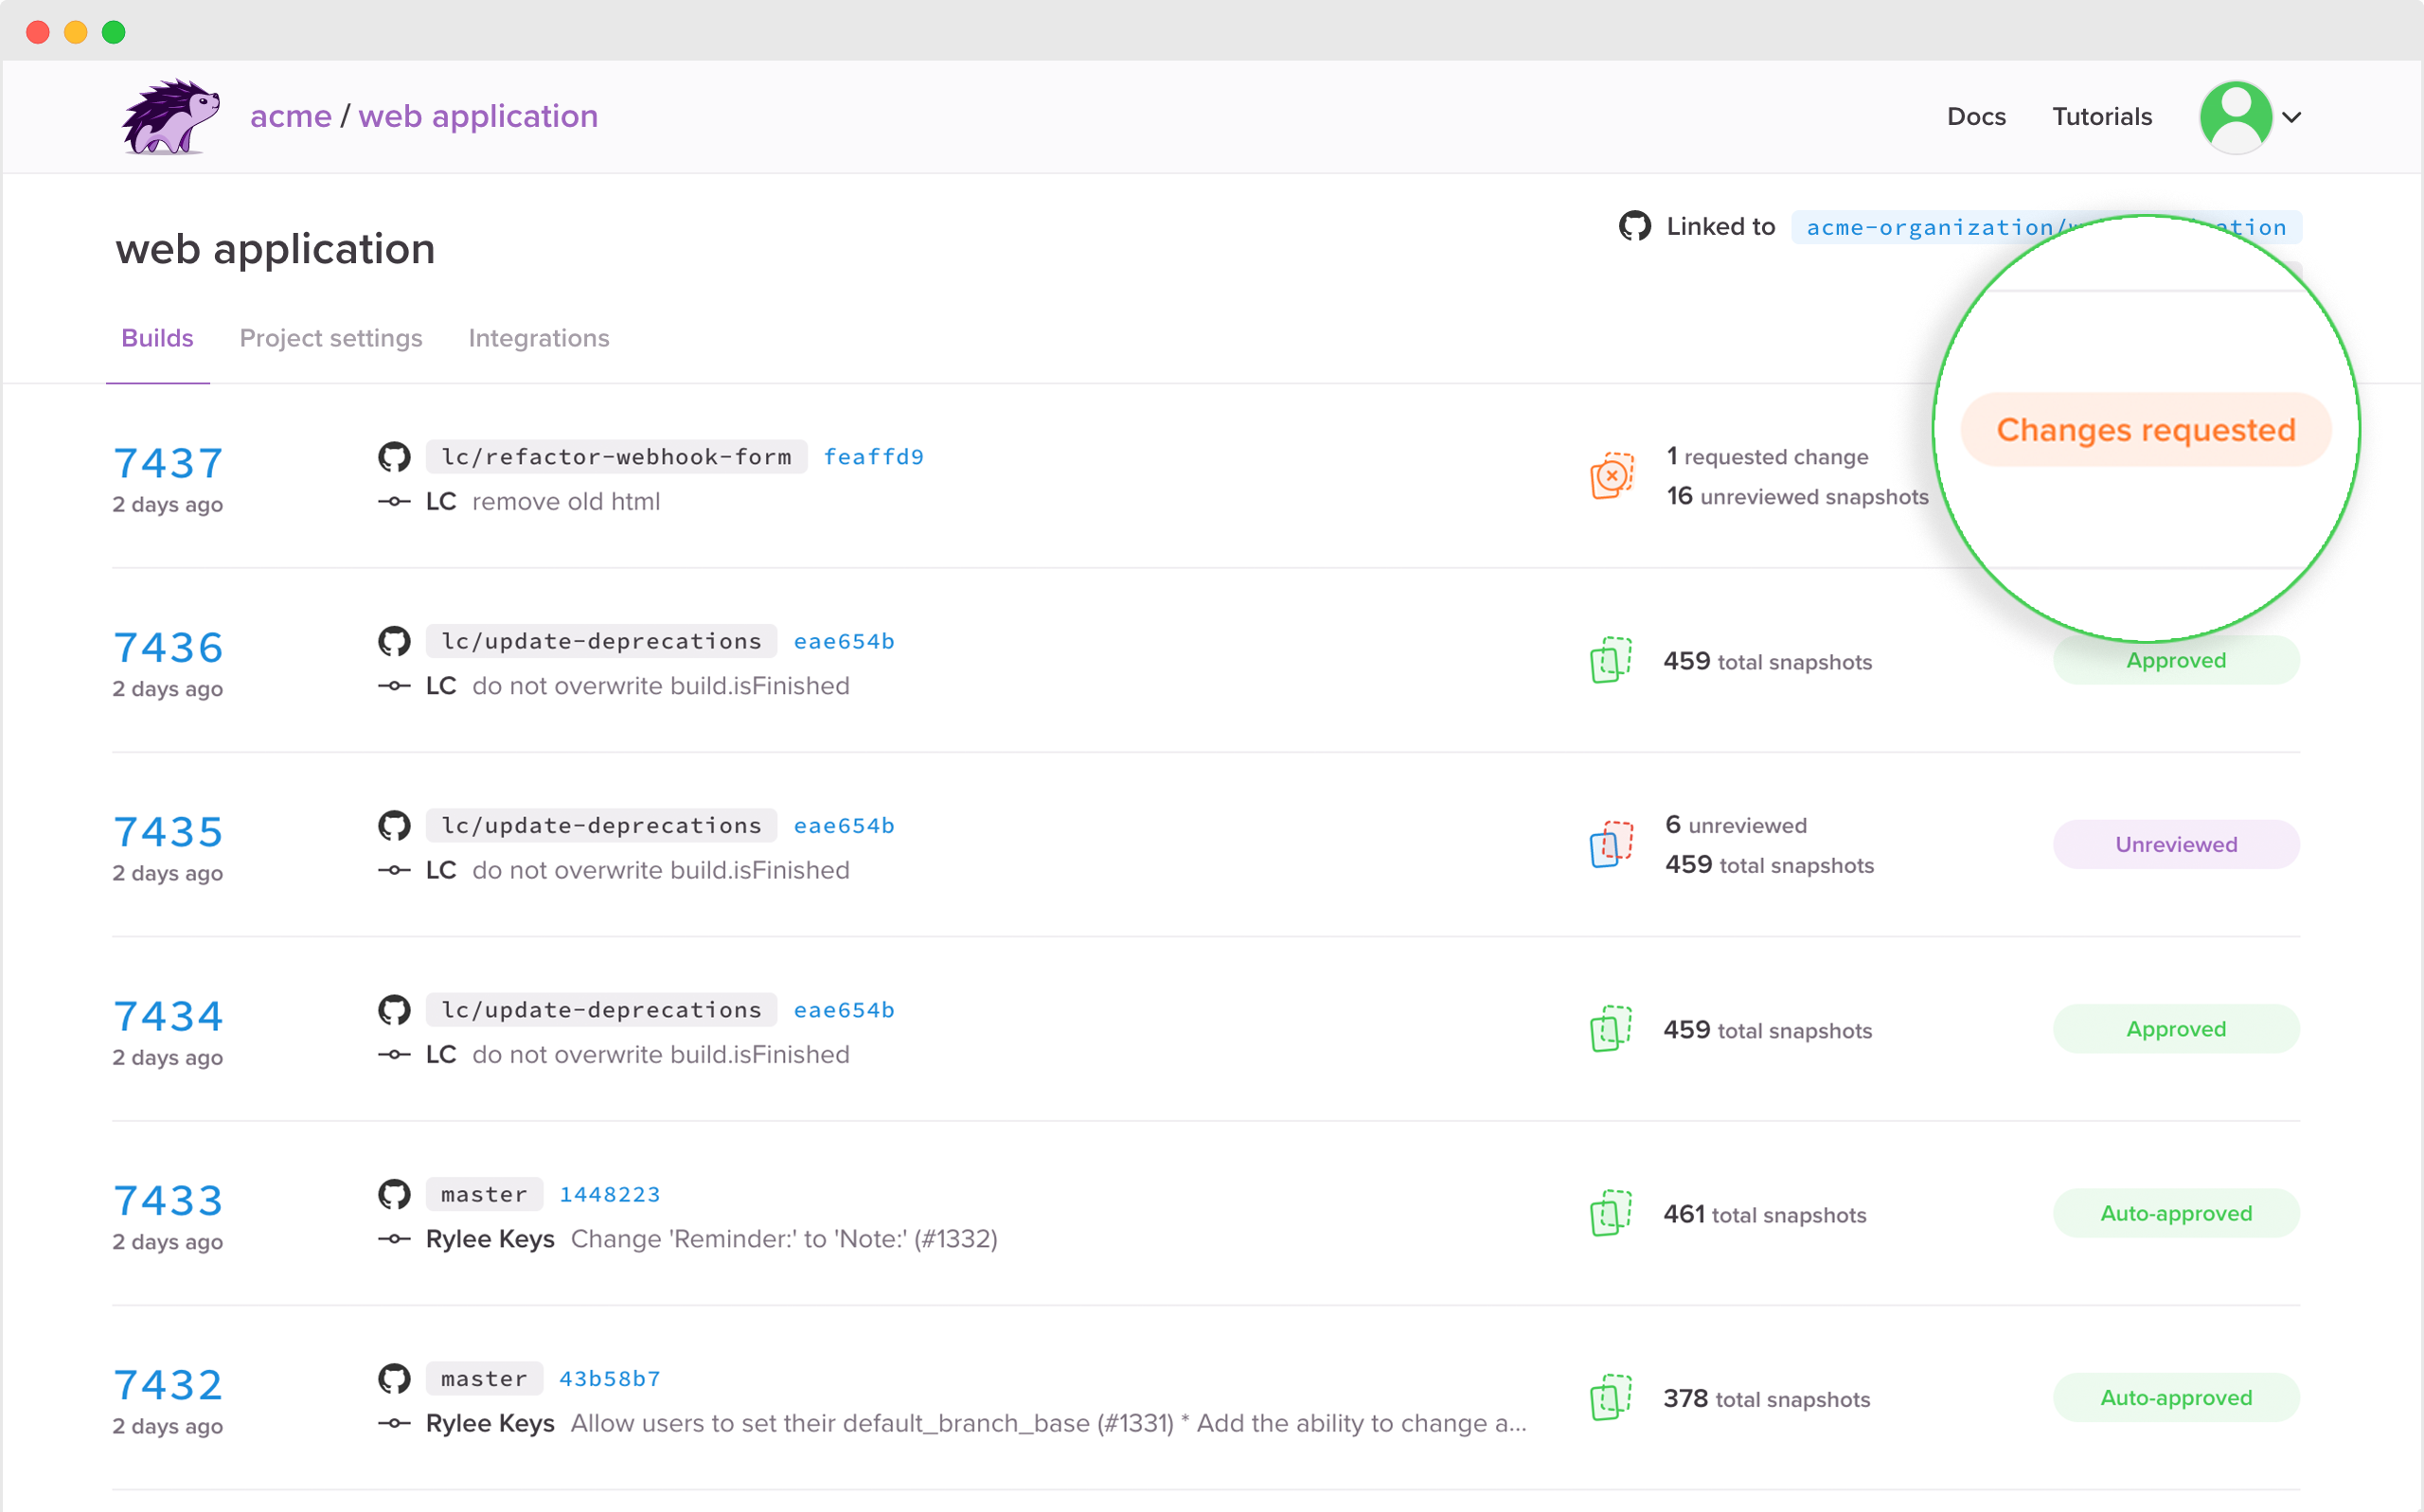
Changes requested workflow
In addition to approving snapshots with visual changes, you can also “request changes.”
Percy features
Cross-browser visual testing
Cross-browser visual testing is available for all Percy customers to effortlessly see visual changes across different browsers.
Percy currently supports modern Chrome, Firefox, Edge and Safari browsers, with support for more browsers in the works. Browser upgrades are handled automatically.
Responsive visual testing
You can perform visual testing for responsive user interfaces, allowing you to automatically detect visual regressions on mobile, tablet, and desktop screens at once.